
With St. Patrick's Day right around the corner, I always try my best to take a little extra time to make a special holiday cookie with my son before the holiday begins. Since this holiday is centered around all-things green, I thought it would be fun to take our traditional sugar cookie and put a fun twirly twist on the design. His almost four-year-old mind was completely blown when I started to slice the log into circle cookies, and too see his little face in wonder made all the layering and chilling time worth it!

I chose to do a little ombre action on the pinwheel by using the regular dough color, a little bit of kelly green, and a LOT of green for the last layer. I made the dough, split it into three different parts, dyed each part the color I wanted, and then chilled them for about 15 minutes. Then, something awesome happened...
I learned quickly that LIFE IS SO MUCH BETTER when you roll out cookie dough with two large pieces of parchment paper. The dough doesn't stick, you're not adding in extra flour to the cookies while trying to prevent it from sticking to the counter-top, and you can easily move the entire piece of dough anywhere you'd like to when layering. It was EASY, guys. I didn't imagine it being this way, but holy smokes... life hack right here, man.
I rolled out the dough balls, laid them on each other, trimmed the dough layers into an even rectangle, then refrigerated the dough again for one final harden set before slicing.

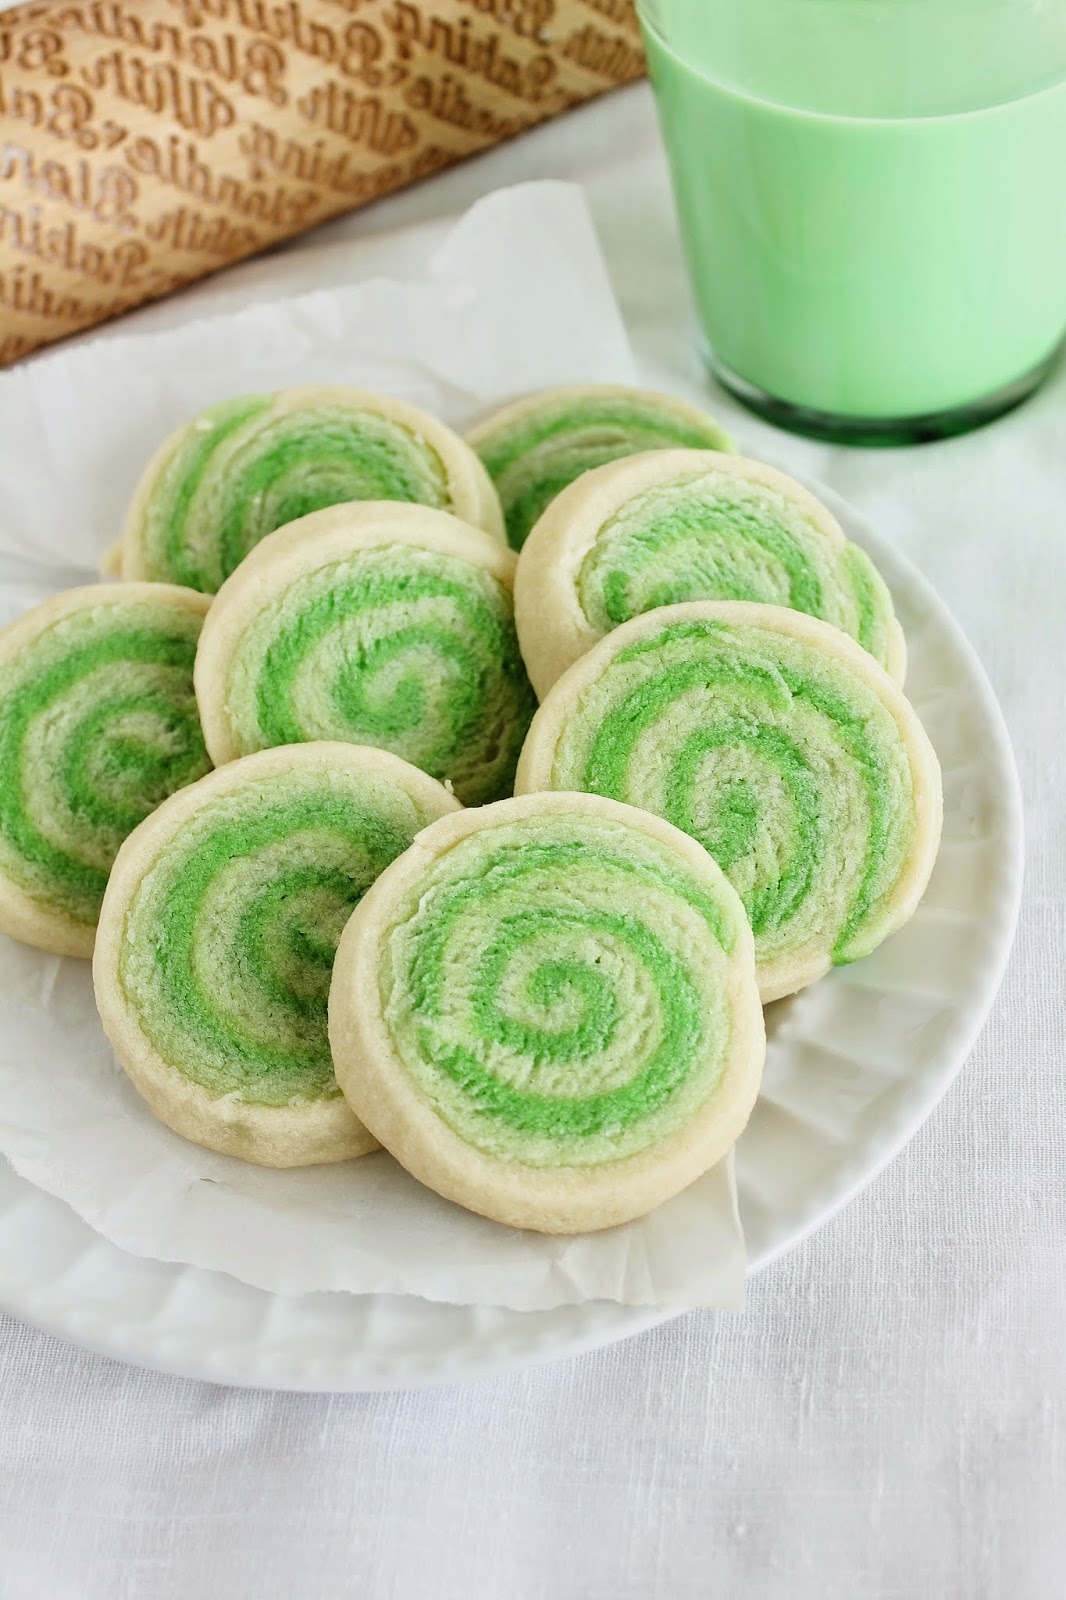
I've heard it said that using dental floss to slice these cookies is best, and I totally agree. Only... I never hear it specified to use NON-mint or NON-flavored dental floss. I've had so many sliced cookies (or cinnamon rolls) where there's a little bite of mint in them... when it's not a mint cookie - haha! So I usually use plain floss or even a little bit of string to slice through evenly. The cookies came out in a perfectly round shape, so I was super happy.
Lastly, but most importantly, these cookies are SOFT, and I mean super-soft. They tasted amazing the day after as they did the day before! I love sugar cookies, but it makes me crazy when they're hard, dry, and crumbly, and these ones, my friends, are far from any of those things. SO soft, so sweet and dreamy, and the perfect cookie for your St. Patrick's Day party or family gathering this month. Happy baking, this weekend, and we'll see you back again on Monday with some more tried, true, and completely delicious recipes from my kitchen! xoxo

Green Pinwheel Sugar Cookies
makes 2 dozen
ingredients:
2 sticks unsalted butter, softened
1 C granulated sugar
1 large egg
1 t baking powder
1 t vanilla extract
1/2 t salt
2 1/2 C all-purpose flour
food coloring - green
method:
1. In the bowl of your stand mixer fitted with the paddle attachment, cream together the butter and sugar until creamy, about 3 minutes. Add the egg, baking powder, vanilla, and salt, mix until thoroughly combined. Add the flour slowly into the mixture, 1/2 cup at a time, until the dough is pliable, but not sticky or crumbly.
2. Separate the dough into three parts. Keep the first ball of dough plain without any color. Add a little green food coloring to the second ball of dough, and add a lot of green to the last one. I used my mixer in a couple separate batches to mix in the color into the dough. Wrap in plastic wrap or a sandwich plastic bag and refrigerate for 20 minutes to set up.
3. Using parchment paper and a fondant/wooden roller, roll each color out to about 1/2 inch thick - I did 1/4 inch thick because I wanted smaller cookies. Place the doughs on top of each other, and trim into a perfect rectangle with a pizza slicer. Using the parchment paper underneath, roll the dough into a log (starting on the long side). Go slowly. Wrap in plastic wrap, and refrigerate log for 40 minutes. We rolled together the trimmings and used cookie cutters to make little shamrocks with the leftover trimmings. Baked for the same time below.
4. Preheat the oven to 350 degrees. Remove the log from the fridge, and with unflavored dental floss or a string, slice the log into small 1/2 inch cookies. Place the cookies on a parchment-paper lined cookie sheet about 1 inch away from each other. Bake for 8-10 minutes until outsides are toasty. Remove and let cool on a cooling rack for 5 minutes. Store in an airtight container.
These are so cute! I love a soft sugar cookie!
ReplyDelete